


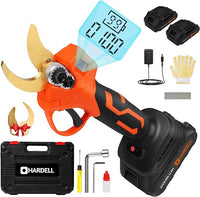


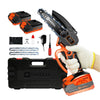


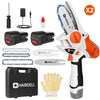


How to Use A Rotary Tool

Consider a powerful and adaptable tool. What first comes to mind? How many power tools have multiple uses you can think of? Imagine having a multipurpose power tool on your shelf that performs numerous tasks in the most efficient manner. Rotary tools are among the most used multi-functional power tools by both professionals and homeowners. These tools are adaptable and capable of handling various tasks.
These extremely practical, multipurpose tools are excellent for various grinding, cutting, and polishing scales. According to experts, every tool collection should include these tools.
A fast-rotating motor is coupled to a spindle, and all rotary tools have similar shapes and designs. The tool bits, which have a variety of shapes and functions, are then secured to the spindle. Speaking of tool bits and accessories, numerous options are available, including cutting wheels, sanding bits, and polishing tools for various tasks and jobs.
1. What is a Rotary Tool, and What Can It Do?
To put it simply, a rotary tool is a portable, quickly rotating motor attached to a spindle to which a tool bit can be attached. For use in various tasks around the office, many different accessories and attachments are available, including cutting wheels, sanding bits, and polishing tools. Although rotary tools come in various models and power levels, they all have one thing in common: to produce the desired results, and they must spin at extremely high speeds.
While some rotary tools can reach speeds of 35,000 RPM, most spin at around 20,000 RPM, it is simple to understand how these handheld tools can travel at such high speeds without resulting in muscle soreness or discomfort, given their diminutive size.
2. Preparing The Rotary Tool For Use
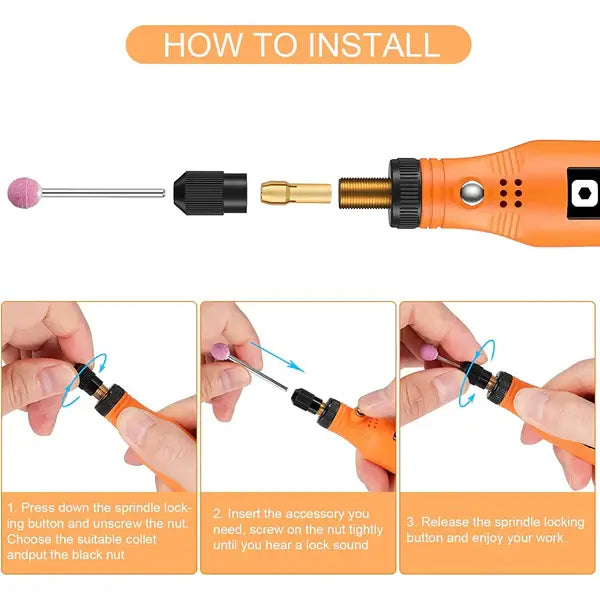
To get your rotary Tool-ready for use, follow these instructions: To become familiar with your rotary Tool and its features before using it, read the instruction manual thoroughly. Make sure all the parts are firmly fastened as you assemble the rotary Tool per the manufacturer's instructions.
Install the appropriate bit into the collet after selecting it for the task at hand. Ascertain that the bit is securely tightened. Check that the speed setting is suitable for the upcoming task. There are some rotary tools that have variable speed settings that can be changed as necessary.
Depending on the kind of rotary tool you have, connect it to a power source like a plug or a cordless battery. Check that the rotary Tool is in good working order before beginning your project. Make sure everything you need is close at hand, your workspace is tidy and organized, and all the tools and materials are available.
3. Preparing Your Work Area
Following are some pointers for setting up your work area before using a rotary tool: To ensure a clean and safe workspace, remove any obstacles or clutter from the area where you will be working. If possible, work on a sturdy workbench or table to provide a stable surface for your project. To prevent movement while using the rotary Tool, clamp or otherwise secure the workpiece in place.
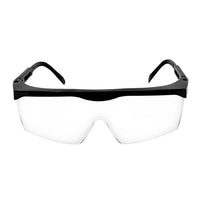
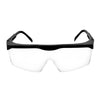
To safeguard yourself from the dust and debris produced by the rotary Tool, put on the proper protective gear, such as safety glasses, earplugs, and a dust mask. The amount of dust and debris produced by the rotary Tool can be reduced with the help of a dust collector or vacuum. Ensure adequate lighting so you can see what you're doing and prevent accidents. When using a rotary tool on wood, you can use your work area to prepare for a safe and effective experience.
4. Choosing the Right Bit
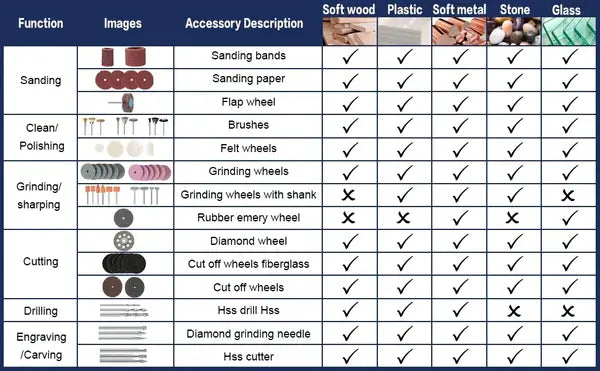
A successful project and the avoidance of harm to the tool or workpiece depend on selecting the appropriate tool bits and accessories for a cordless rotary tool. Here are some suggestions for selecting the proper bit: Depending on whether you want to drill, cut, grind, or sand, you should choose the appropriate bit. Choose a bit that is appropriate for the material you'll be working with by considering the type of material you'll be using, such as wood, metal, or plastic. For example, a round or cone-shaped bit for sanding or a cutting disc for cutting; choose a bit that is the proper size and shape for the job.
To ensure a high-quality bit lasts longer and performs better, choose one made of tough materials like tungsten carbide or high-speed steel. Make sure the bit you select is appropriate for the brand of rotary tool you are using. For their tools, some brands recommend particular bit sizes and shapes. Choose a bit that is appropriate for the task and the material you'll be working with while keeping safety in mind.
5. Adjusting Your Speed Settings
To get the results you want and prevent harm to the tool or workpiece, changing the speed settings on the best cordless rotary tools is crucial. For adjusting the speed settings, consider the following: Make sure you are familiar with your rotary tool's speed settings and know how to change the speed. To select the right speed setting, think about the task you want to complete, such as sanding, cutting, or grinding.
If you're going to be working with plastic, metal, or another type of material, keep that in mind when adjusting the speed. Wood and other softer materials might benefit from a slower speed setting, whereas metal and other harder materials might benefit from a faster speed.
Because higher-quality bits can frequently handle higher speeds, consider the bit quality you're using. If you're unsure of the best speed to use, start out slow and then gradually pick up speed until you find the ideal speed for the task.
As you work, keep an eye on the tool to make sure it is operating smoothly and isn't vibrating or getting too hot. If you encounter any issues, either reduce the speed or stop using the tool right away. Your rotary tool's speed settings can be changed to get the desired results and ensure that a project is safe and successful.
6. Using Your Rotary Tool
Firmly grasp the tool. Make sure you have a firm and comfortable grip on the tool as you hold it with both hands. Always maintain control of the tool, and refrain from using too much pressure or force. The tool should be started at a low speed, and its speed should increase gradually as required. Make sure you're using the appropriate method for the job, such as straight lines when cutting or circular motions when sanding.
Take breaks as necessary and work at a pace that feels comfortable to you. To keep the tool functioning at its peak, regularly clean it. Use the appropriate cordless rotary tools for the job, such as a cutting disc or sanding pad, to finish the job.
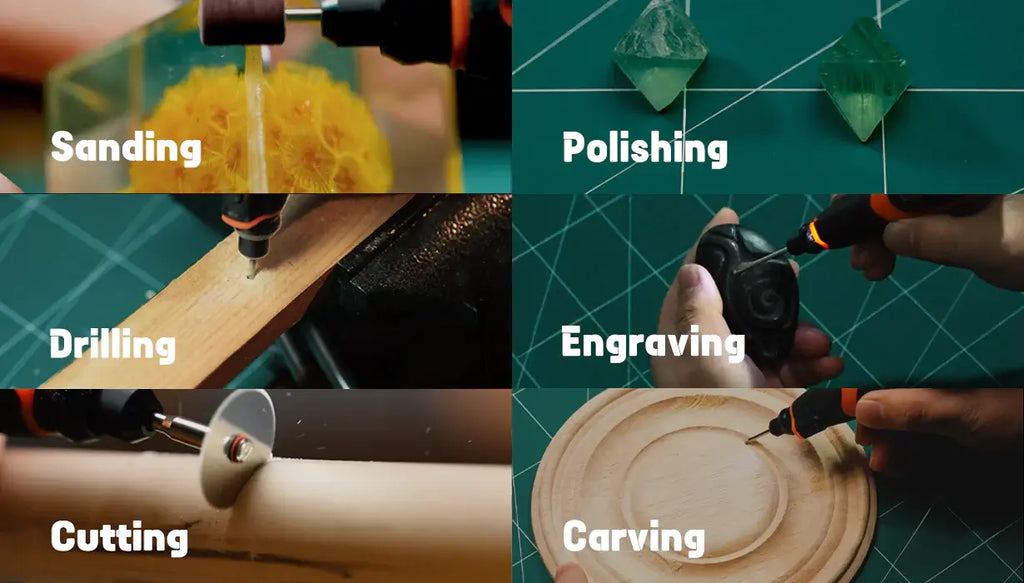
7. Common Uses for a Rotary Tool
Rotary tools can be equipped with sanding discs and pads, making them excellent for sanding various materials, including wood, metal, plastic, and ceramics. With the addition of cutting wheels, rotary tools can be used to cut various materials, including glass, metal, plastic, and wood.
The addition of grinding stones to rotary tools makes them suitable for rust removal, blade sharpening, and material removal, such as concrete. Intricate designs or lettering can be produced on a variety of materials, including metal, glass, and plastic, using rotary tools that can be equipped with engraving bits. To create small holes in a lot of materials, including wood, metal, and plastic, rotary tools can be fitted with drill bits.
8. Understanding Safety Precautions
Inadequate safety measures can make using rotary tools dangerous. Here is some crucial safety advice to remember when using a rotary tool: When using a rotary tool always put on eye protection, gloves, and the appropriate attire. You'll be better shielded from sparks and flying debris, thanks to this. Ensure that your workpiece is firmly clamped or held in place to prevent movement while working.
Try to keep the tool away from anything flammable, like gasoline, sawdust, or cleaning agents. Before changing accessories, such as bits or sanding pads, always unplug the tool to prevent unintentional start-ups. Ensure you don't go faster than the top speed suggested for the tool or accessory you're using.
Ensure the power cord is not wrapped around the best rotary tool or your feet or tangled in them. Maintain proper tool storage: When not in use, store the tool safely and out of children's and animals' reach.

9. Cleaning and Storing Your Rotary Tool
It is necessary to disassemble a Rotary tool to clean the inside:
- Dispense with the motor brushes.
- Torque screws hold together the Rotary tool. Remove them.
- Disassemble the two halves by removing the end clip.
- Take a look inside.
- Get rid of the dust you can see.
Rotary tools commonly have issues with the switch contact surface. The mini rotary tool may remain on as a result of this. Use a q-tip and rubbing alcohol to remove any dust from the contacts. Reinstall the spring clip on top of the lock pin and place it back in the slot. Together with the torque screws, fasten the two pieces of the Rotary tool. A cloth or rag, some rubbing alcohol or degreaser, and most Rotary tool parts can be easily cleaned.


